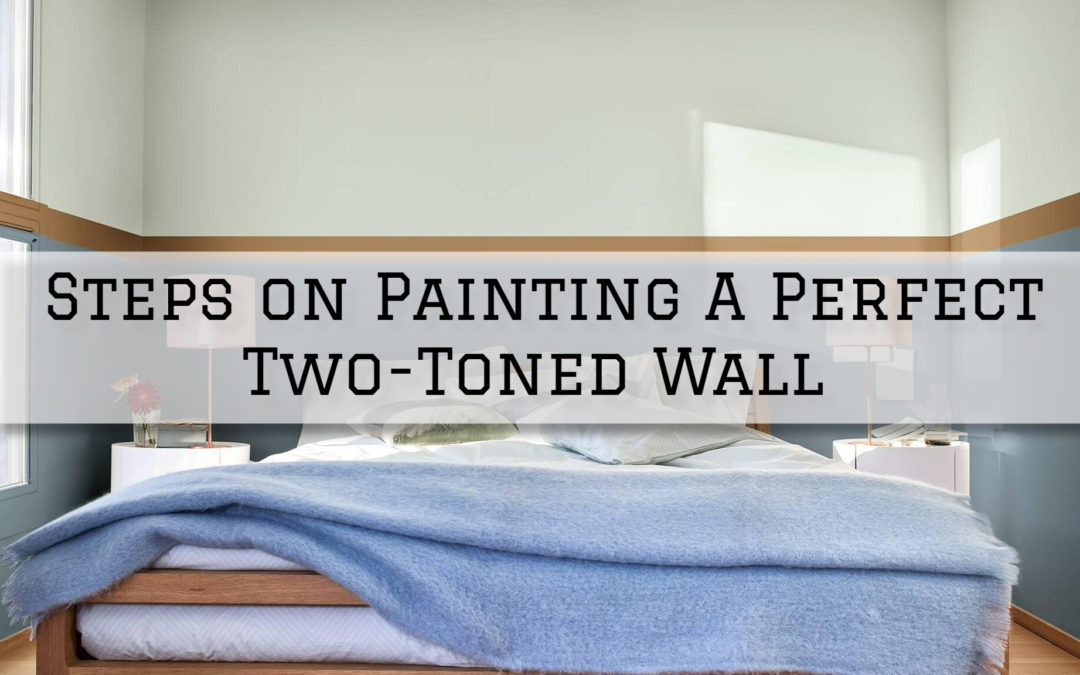
Steps on Painting A Perfect Two-Toned Wall in Ottawa, Ontario
Why settle for a boring, single-colored wall when you can indulge yourself in a whimsically gorgeous and unique two-toned wall?
A painting technique that stacks two colors on top of each other, two-toned walls is a great way to turn things around and elevate your home interior.
A two-toned wall gives your interior an immediate contrast and complement between the two given colors, gives your walls some kind of personality, and is just an utter visual delight.
However, painting a two-toned wall takes skill and proper research, and doing it without the right tricks and tips could easily end up in a disaster.
So, if you’re currently thinking of treating your home interior to a two-toned wall and preparing on how to do it, we got you covered.
To help you paint the perfect two-toned wall, here are the Steps on Painting A Perfect Two-Toned Wall in Ottawa, Ontario.
1. Choose Your Two Colors Carefully
A two-toned wall is characterized by having two colors, so if you want to paint yourself the perfect two-toned wall, you must think about the two colors you’ll use first.
While a contrast between the two colors is also inevitable, it is still important that the two colors you end up with are still complementing and blending well with each other, and that they’re not two opposite contrasts of each other.
It is already exciting enough to see two colors painted on a single wall, and having badly mismatched colors on your two-toned wall will already be too much for the eyes.
To have an idea of which colors look good when paired together, you can refer to color palettes and design inspirations online.
2. Measure Up!
Once you have decided on which two colors you’ll use to paint your two-toned wall, it’s now time to bring out your tapes and rules and measure up.
This step is important as you want to determine how you will divide and distribute the colors – whether one color will have more space than the other, or you’d like an even distribution between them.
Typically, two-toned walls are done horizontally, or the colors are stacked upon each other, but if you want to do it vertically, you can also do so – the creative decision is entirely up to you.
Make sure that you got every line straight and every measurement right, because once you’ve started painting, there’s no going back.
3. Apply A Coat of Primer First
When you have all measurements right and jot down, it’s time to apply your coat of primer.
Primer is an important step in painting your two-toned wall, or just painting in general, because it gives your paint a much more ideal surface to paint on – one that would enable your paint to adhere better, and appear brighter and more vibrant.
To see better results and a longer-lasting paint job, you should never skip applying a coat of primer before painting.
4. Paint Your First Color
When all is measured and primed, it’s now time to bring out your paintbrushes or rollers and apply your first color!
Ideally, it would be recommended to paint from the top first, as paint drips are easier to fix when they’re running down the surface you’ll essentially be painting over later than them running down all over your fresh coat of paint (which will happen from painting from the bottom first).
Additionally, in painting your first color, you’ll want to paint over a few centimeters from the line boundary.
5. Apply Painter’s Tape
Once you’re done painting the first color, it’s time to measure again and apply painter’s tape to prepare for painting your second color.
Since you’ve painted a few centimeters over your line boundary, you will want to retrace that using chalk and put painter’s tape above the chalk line when you’re done.
The position of your painter’s tape is important to keep in mind because you’ll be painting your second color below the chalk line, so the painter’s tape will act both as a line and a protector from paint smudges from when you’re painting your second color below.
Just make sure that the first color is completely dried before you do this step to avoid messing up the coat.
6. Paint Your Second Color
After putting up painter’s tape, you can now paint your second color.
Just like painting your first color, it would be ideal to start painting from the top first and make sure that you’re not painting over the tape to avoid smudges.
7. Reveal The Results
When you’re done painting, and the coat is almost dry, you can now carefully remove the painter’s tape and reveal your brand new two-toned wall!
Make sure that you do not leave your painter’s tape for too long on the surface, as it can peel away some of your paint when you’ve left them for too long.
At Millers Painting, we offer free paint consultancy alongside high-quality residential and commercial painting services in Kanata, Nepean, Barrhaven, and Westboro areas of Ottawa, Ontario. To get started with us, book a FREE estimate or call us on 613-979-5435
Related: 5 Tips For An Accent Wall You Will Love in Ottawa, Ontario
7 Techniques And Tips For Painting Over Wallpaper in Ottawa, Ontario
Recent Comments