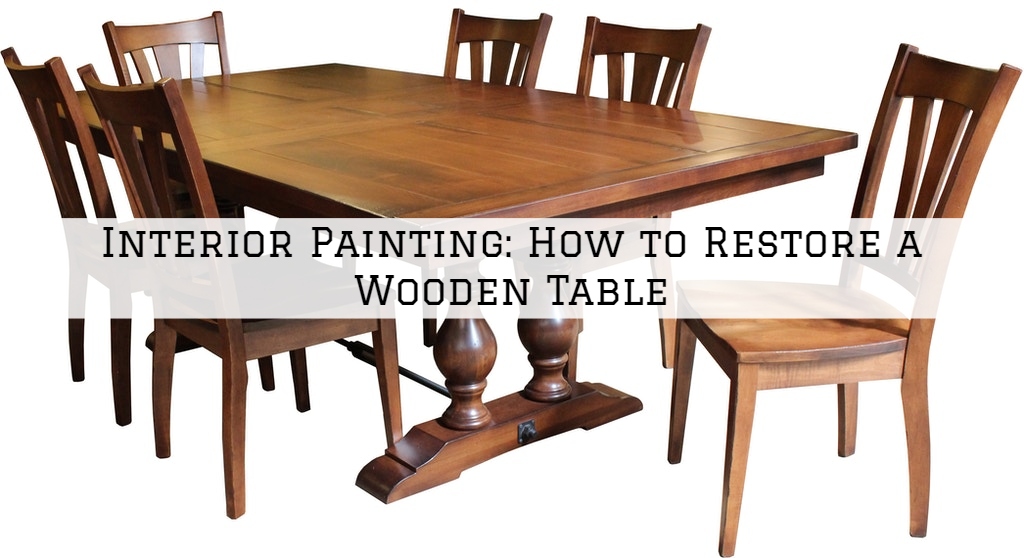
Interior Painting Ottawa, Ontario: How to Restore a Wooden Table
Learning to restore a wooden table allows you to give a rejuvenated look to an old fashioned piece.
For some tables, restoring them allows them to avoid the stain or even fire.
Restoring a wooden table takes a little time and elbow grease, but the result is worth it and you save money while developing your creative talents.
However, if you don’t have the skills and tools needed to refinish your piece of furniture, consider hiring a professional painting contractor, otherwise, here are the steps you need:
Removing the Old Varnish
Move The Table To A Well-Ventilated Area.
You can do this in a workshop, garage, or outside if the weather permits. If the table is too large to move, open all the windows in the room to ventilate and protect the floor around the table.
Protect the floor: spread newspaper or plastic sheets around the table and your work area to avoid staining or damaging the floor.
Apply A Product To Remove The Original Varnish.
Apply a layer as homogeneous as possible on the surface, using a large brush. Leave the product to act for 15 to 20 minutes, so that it softens the old varnish.
Remember, however; if it dries too much, it will be difficult to remove.
The products for removing varnish or paint are often in liquid or gel form or paste form.
For horizontal surfaces, liquid products are suitable, for vertical surfaces, prefer gels or pastes which will adhere better and will not run along the surface.
While very useful, these products can be dangerous if not used properly. Be careful, work in a well-ventilated area, wear protective gloves, glasses.
If your goal is to restore an antique piece of furniture or a piece of high-value furniture, buy products designed for the restoration of this particular type of furniture and always test the product before going all in.
Remove The Varnish.
With a plastic spatula, begin to remove the softened varnish by scraping (when you have waited long enough for the product to soften it well).
A plastic spatula is key, a metal spatula is likely to damage your table.
Repeat the process several times if necessary.
Remove as much varnish or paint as possible with the spatula or a plastic scraper knife too.
Sand the Table.
With fine-grained sandpaper (000 is suitable), gently sand the table in the direction of the wood grain.
If there are areas of discoloration or irregularities, sanding them will make them disappear.
If you have done a good job with the product, your sanding work should be less.
Use 120 sandpaper to remove any residue from the varnish and smooth the wood. Then with 220 sandpaper, sand the entire table.
Apply The Protective Layer On The Wood.
It’s about waterproofing it. Some types of wood tend to absorb stains and products unevenly and the protective layer helps prevent this.
It can also be applied as a finish.
Apply a good layer of product on your entire table. Let the furniture soak for a few minutes.
Then, with a clean cloth or with a very smooth spatula, scrape off the excess. Be sure to allow it to dry completely before sanding the furniture with 220 sandpaper.
Apply your finish.
To get the look you want, it’s important to apply your finish evenly and remove the excess immediately (depending on the shade you want).
When you have applied the finish, use a cloth to remove the excess. If the wood is still too light, repeat the operation, checking the homogeneous appearance of the wood.
Apply at least two layers of varnish and use very fine sandpaper between the two layers so that the fibers hang between them.
Need Help with That?
If you need help with cleaning, painting, or staining your furniture, our professional team at Millers Painting would love to help.
We offer high-quality interior painting, staining, and refinishing services in Kanata, Nepean, Barrhaven, and Westboro areas of Ottawa, Ontario.
To give us a try, book a FREE estimate or call us on 613-979-5435
You May Also Like:


Recent Comments