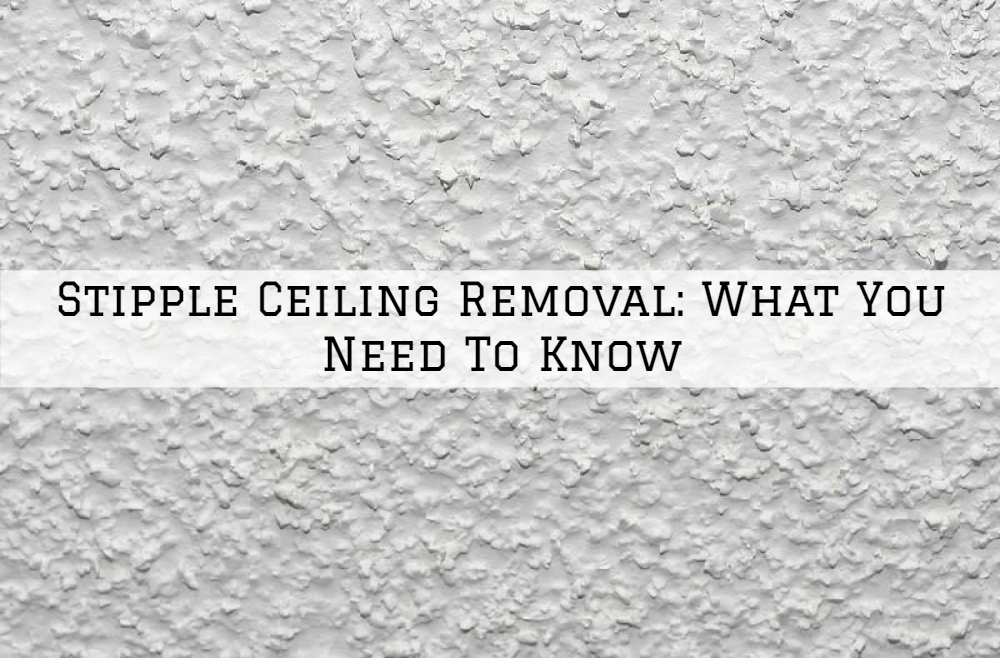
Stipple Ceiling Removal in Ottawa, Ontario: What You Need To Know
Very few things date a space like a textured ceiling, and not in a charming way.
They were very popular in the 1950s because they made easy work of finishing the ceiling and hiding imperfections.
However, people have discovered that they are difficult to repair, hard to clean, and they dust and spider-web magnets.
When a textured ceiling gets water damage or pieces simply fall off, replicating the original pattern is virtually impossible.
You have to remove, cover, or re-texture the surface every time. That is why most homeowners in Ottawa, Ontario choose to remove the texture permanently and in favor of smooth ceilings.
Removing stippling is a relatively easy home improvement project, although it can take a while and get messy.
There are two popular methods of removing ceiling stippling. The first one is to wet the texture layer and scrape it off. The second method is to sand the textured layer to the surface of the drywall.
Note: Many textured ceilings built in the past used asbestos to create the stippled effect before its use was prohibited in 1978.
If you suspect that your ceiling may contain asbestos, make sure you have it tested before removing it yourself.
Look for a local testing laboratory under “asbestos tests” or “asbestos laboratories” or use a contractor certified to handle asbestos.
The Moist and Scrap Method
Step 1 – Remove the Furniture and Cover Up
This process is easiest when done in an empty room. If it is not possible to remove all the furniture, cover the remaining items with rags. Place canvas sheets all over the floor.
Stage 2 – Dampen the Stipple
Fill the garden sprayer with clean water. Working in small sections, spray the ceiling with the water. Let the ceiling absorb the water, and apply another spray of water.
Step 3 – Scrap the stipple
Using putty or joint knife with a wide blade, carefully remove the stipple layer from the ceiling.
Be careful not to damage the ceiling with the edge of the knife. If there are areas where the stippled layer does not come off easily from the ceiling, apply more water to moisten the material.
Step 4 – Remove the Canvas
Once you have removed all the stipples layers, remove the canvas from the ground. Since there will be water accumulated on the canvas/sheets, lift them at the corners and let the water collect in the center. Carefully remove the covers from the room without spilling the water.
Step 5 – Dry the Ceiling
Use portable fans aimed at the ceiling to dry them. Once the drywall is completely dry, remove the remaining tarps and drop cloths from the room and replace the furniture.
Sanding Method
Step 1 – Sealing the room
Seal the room with hanging plastic sheeting and tape to protect the rest of the house from dust. Close the air vents and open the windows.
Step 2 – Sand the stippled surface
Wearing a protective air mask, use a palm sander to sand the stippled surface. Continue sanding until you reach the drywall surface. Be careful not to dig the sander into the drywall and damage it. Just skim the surface of the drywall, while at the same time removing the stippled material.
Step 3 – Vacuum cleaning
Use a Shop vacuum to clean the resulting dust.
The Bottom Line
Well, the above is a rough overview of the DIY approach of stipple ceiling removal.
However, note that the process is a little more detailed and complicated, which is why hiring a professional for stipple ceiling removal is almost always the best option.
If you need help with stipple removal in Ottawa, Ontario, our team at Millers Painting can help.
We offer high-quality interior painting, staining and refinishing services in Kanata, Nepean, Barrhaven and Westboro areas of Ottawa, Ontario.
To give us a try, book a FREE estimate or call us on 613-979-5435.
You May Also Like:


Recent Comments